1. How It Works
In robotics, the line tracking module works like CoCube's light-sensing feelers. It cannot see far ahead, but it is very good at reading the path directly under the robot.
Its key idea is infrared reflection:
Emitting and receiving: each channel has a pair of "eyes": an infrared emitter and an infrared receiver.
Black and white: a white surface reflects infrared light back to the receiver. A black line absorbs more light, so the receiver gets little or no signal.
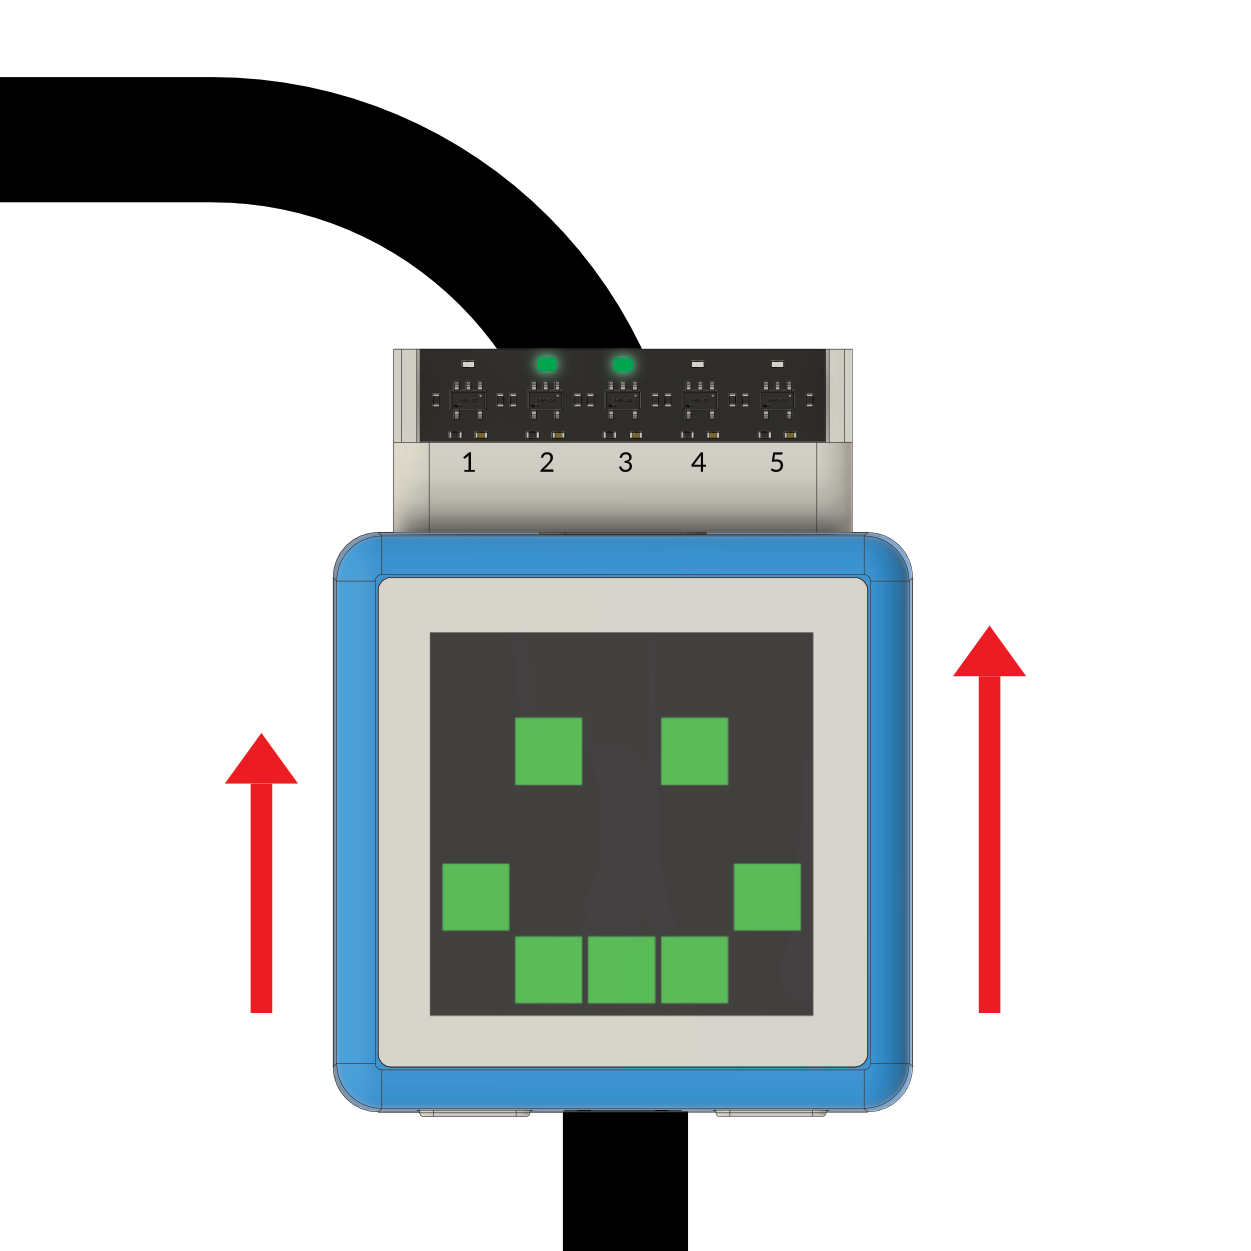
Decision making: CoCube checks which of the 1 to 5 sensors is over the black line, then decides whether the line is to the left, right, or center.
![]()
Note: when the smiley face points toward you, the sensors are numbered 1 to 5 from left to right.
2. Preparation
Before making the robot follow the line, print a tracking map and write a small program that shows the five sensor states on CoCube's LED screen. This makes it easy to check whether the sensor is working.
Open the CoCube Module library and find the line tracking blocks.
Print the tracking map
Download and print A4_track.pdf. Matte paper is recommended to reduce reflection interference.

Download the tracking map image
Reference program
Use a loop to keep checking sensors 1 to 5.
If a sensor is on black, light the matching pixel on the LED display.
If a sensor is on white, turn that pixel off.

Move the robot over the map by hand. If the dots on the display follow the black line, your sensor is ready.
3. Build the Line-Following Program
Now that CoCube can sense the line, it needs movement logic.
Core idea: correct the offset
Line following means turning toward the side where the robot has drifted:
If the center sensor (3) is on the black line: go straight.
If the left sensors (1 or 2) are on the black line: the robot has drifted right, so it should turn left.
If the right sensors (4 or 5) are on the black line: the robot has drifted left, so it should turn right.
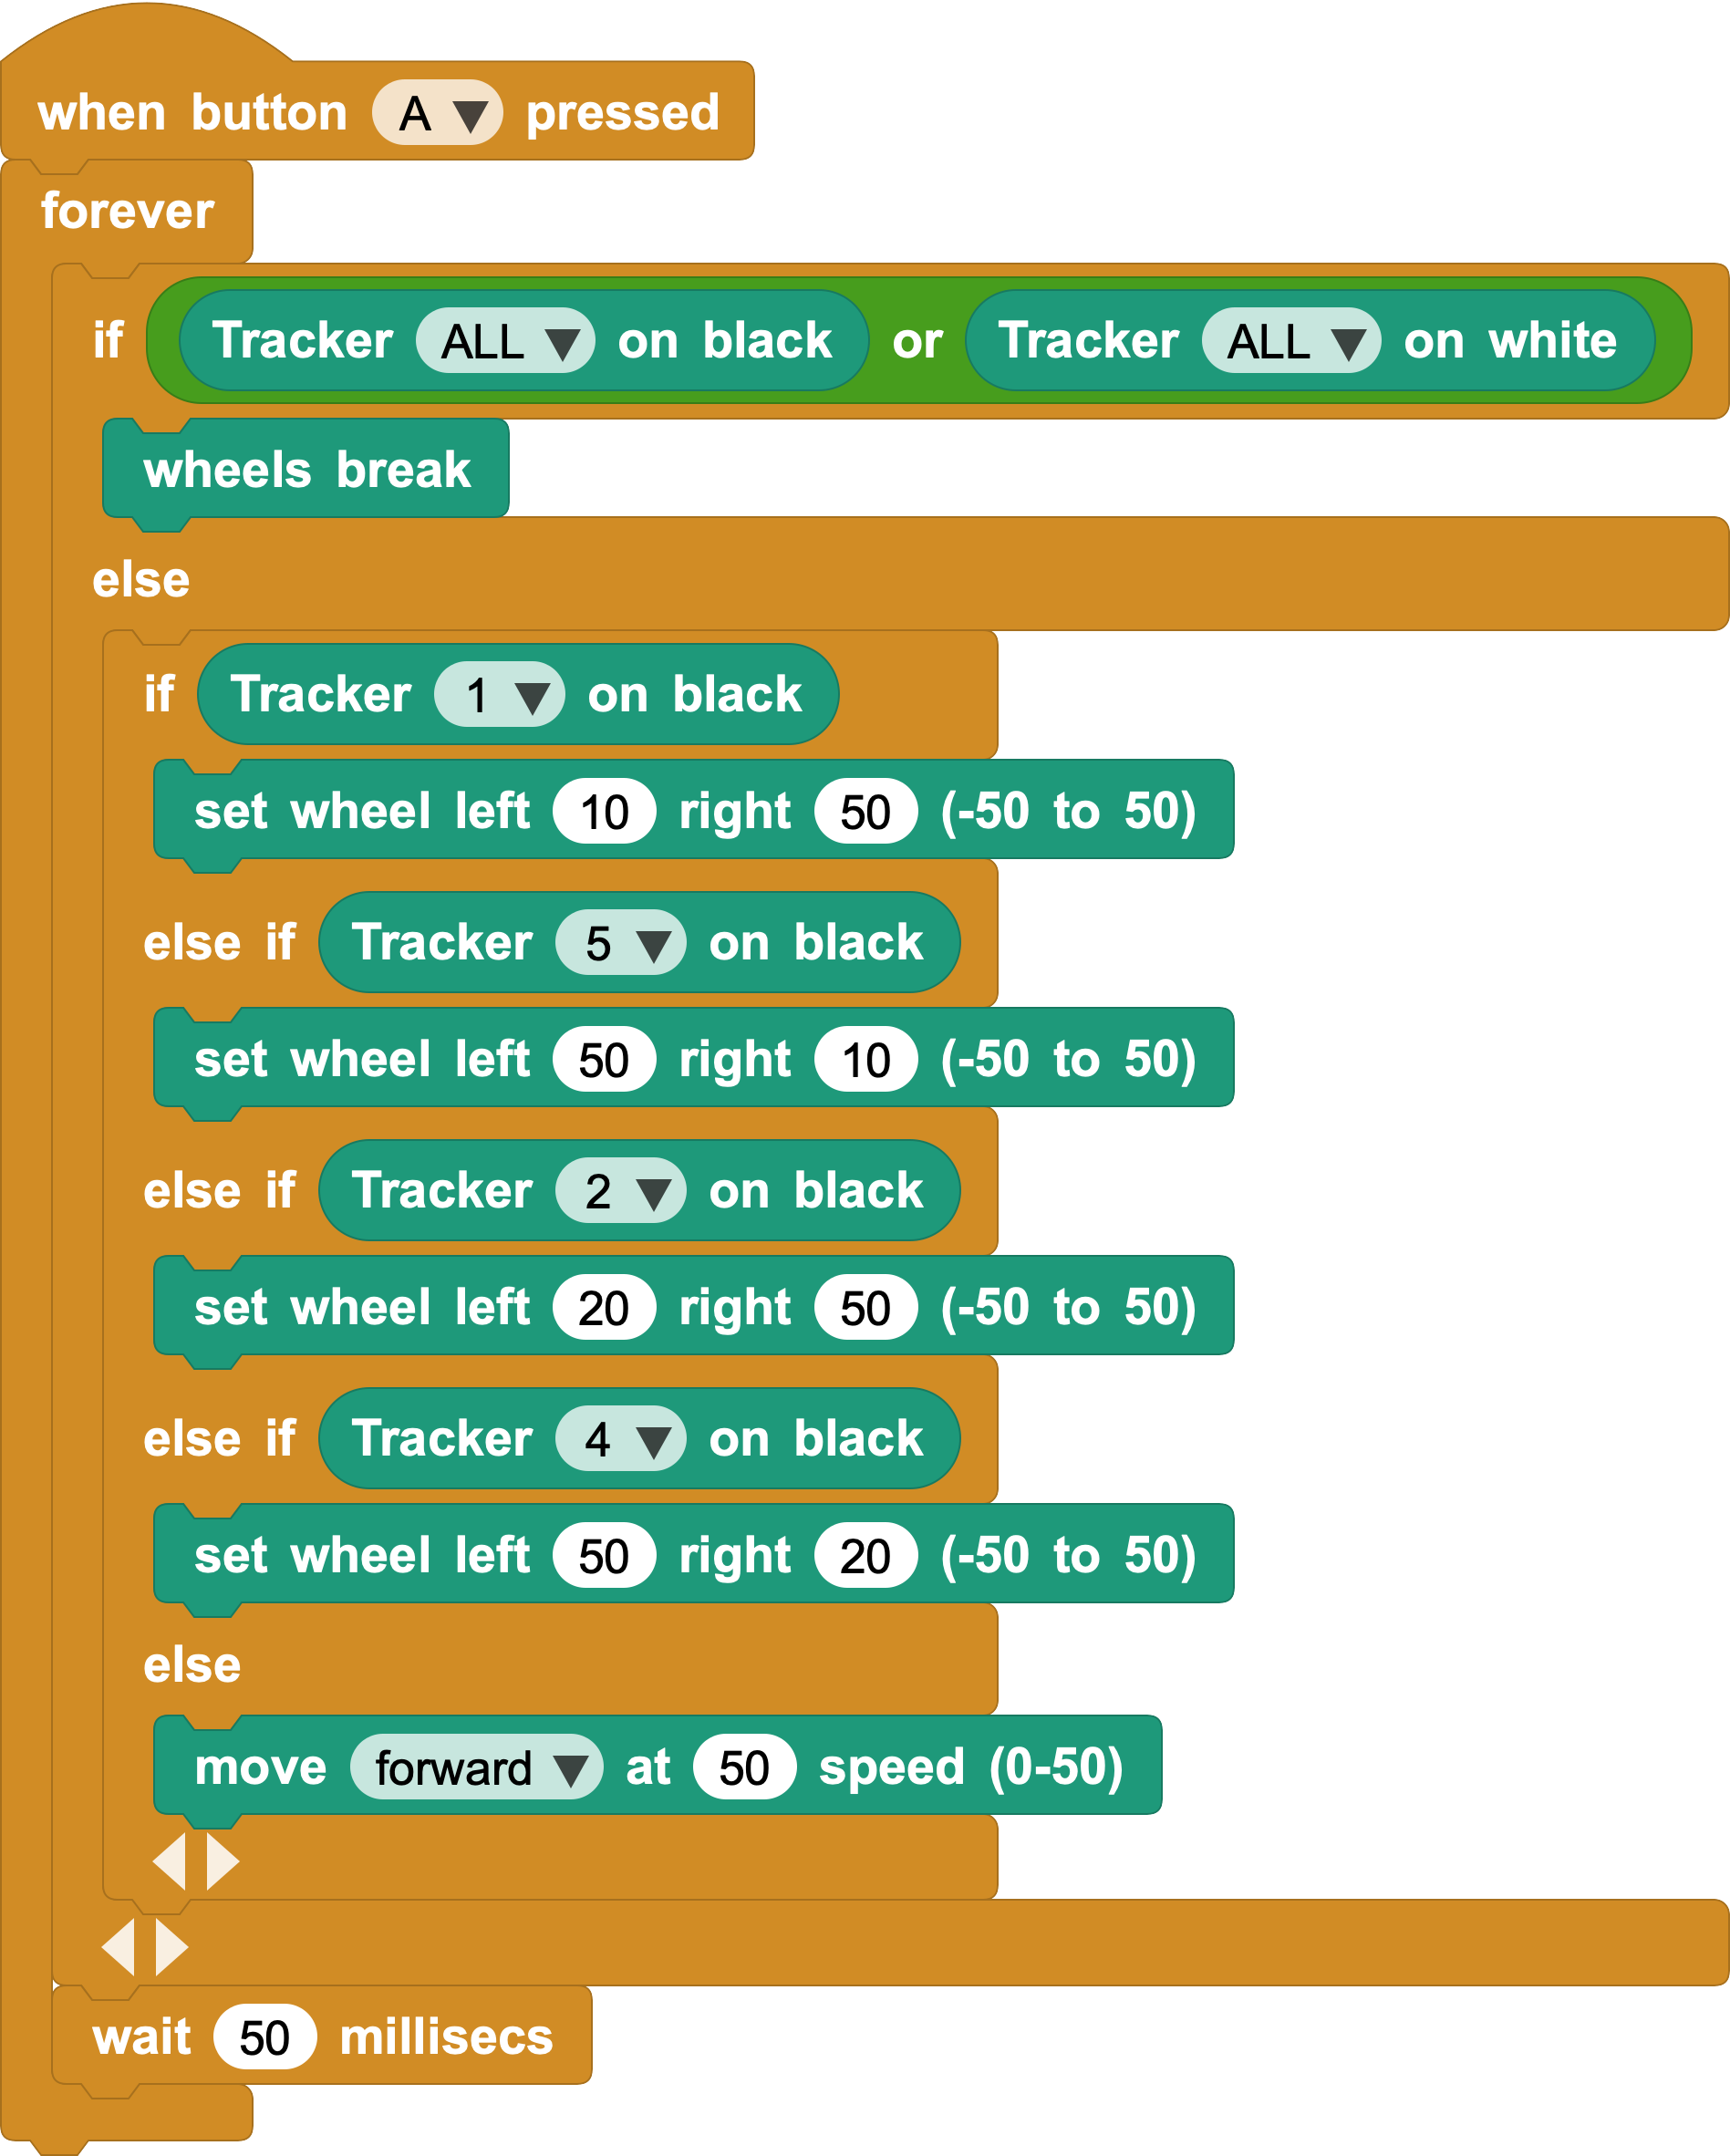
Write the tracking program
Special case: if all sensors (ALL) are on black or all are on white, such as when the robot leaves the track or reaches a cross line, brake the motors.
Sharp left turn: when sensor 1 detects black, set the left wheel to 10 and the right wheel to 50.
Sharp right turn: when sensor 5 detects black, set the left wheel to 50 and the right wheel to 10.
Small left turn: when sensor 2 detects black, set the left wheel to 20 and the right wheel to 50.
Small right turn: when sensor 4 detects black, set the left wheel to 50 and the right wheel to 20.
Default straight movement: otherwise, usually when the center sensor is on the line, move both wheels at speed 50.
4. Think Deeper: Why the Order Matters
In the program, sensors 1 and 5 are checked before sensors 2 and 4.
What would happen if you reversed that order?
Hint: the program runs from top to bottom. If sensor 1 is on the line, sensor 2 may also trigger. Handling the most extreme cases first helps keep the robot on the track.
5. Challenge and Create
After completing the rounded rectangle track, try printing these maps too.
How should you adjust the program to handle right-angle turns smoothly?
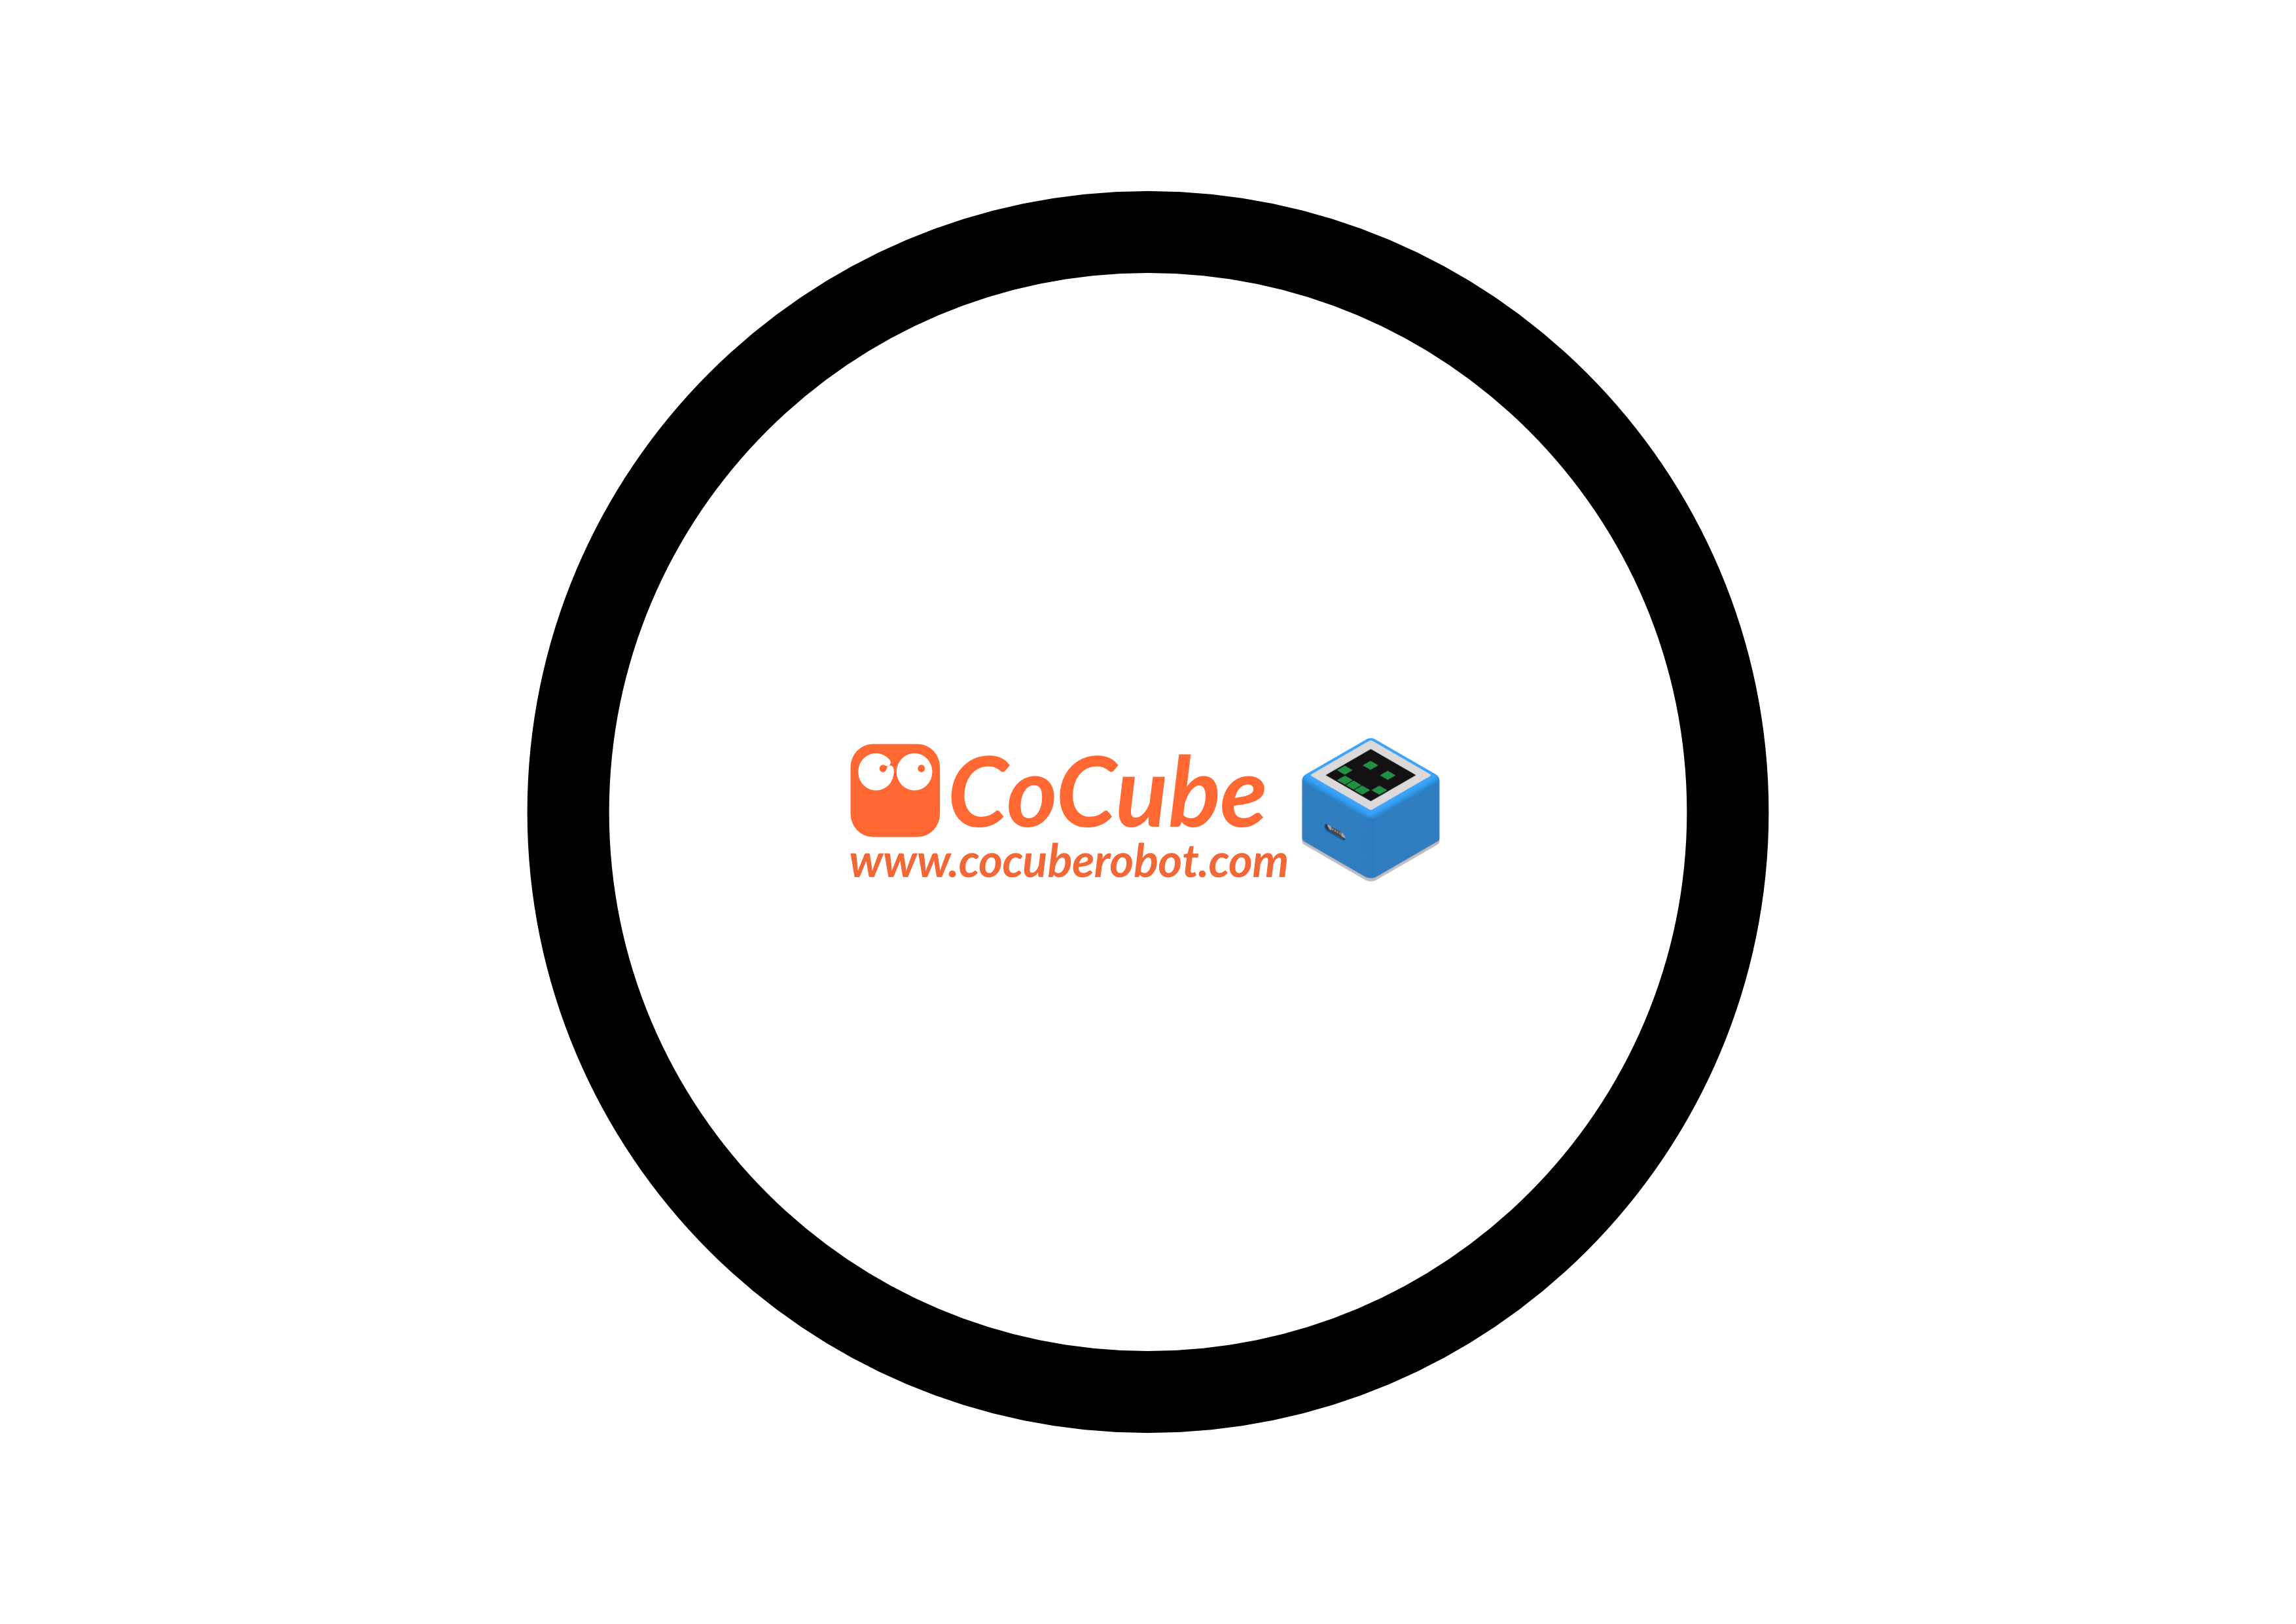


Download the circle map / Download the right-angle map / Download the curve map
Share a video of your robot completing a lap.